The Classic Original Chocolate Chip Cookie Recipe

So the other day I headed in to the kitchen with a lot of excitement on what I should make. My Tiramisu recipe? Soft buttery shortbread cookies? Lemon squares? ginger molasses  bars? options! options! As I pondered my options out loud to my brother he said "Well, those are all great and all, but can't you make something normal for once?" I thought this was funny as this is the same guy who inhales everything I bake, and then asked for thirds, fourths, and tenths. This was the first time I hear any such complaint or suggestion from him. But as I thought about it, I realized it had been quite a while since I went "classic". I asked him what exactly he meant by "something normal" and he immediately retorted "CHOCOLATE CHIP COOKIES!" (clearly he had been holding on to this!)


"Ok," I said "What kind of chocolate chip cookies? Soft and chewy? Thin and crispy? OOOH how about CAKEY cookies those are awesome! And maybe we can add walnuts?" His reply: "NO! I said NORMAL! Just a NORMAL chocolate chip cookie. Nothing crazy fancy with weird ingredients. I JUST want a cookie!"

Well alright then.


The Fast and Easy Recipe for the first ever Chocolate Chip cooke recipe ever! This is the original recipe accidentally created by Mrs. Wakefield in the 1930's.....and its delicious! A perfect classic chocolate chip cookie....because it is! | www.liv…


Normal and nothing crazy? Well that means we need to go with a classic chocolate chip cookie recipe! And what better than the ORIGINAL, must classical cookie you could get - the first every chocolate chip cookie recipe! There are various stories as to what really happened and how the actual cookie was invented, with some saying it was a brilliant accident, to others claiming it was created on purpose. One things for sure, however, and that is that chocolate chip cookies were invented by Ruth Graves Wakefield in the 1930s. (lets all take a minute and say “Glory be the thee Mrs. Wakefield!”) One story goes that Mrs. Wakefield  was in the kitchen of the Toll House Inn (an Inn she owned with her husband) and was planning on make a batch of her Chocolate Butter Drop Do cookies to serve to her guests. But as she was in the middle of baking the recipe, Ruth discovered she was out of baker’s chocolate! Ruth then tried to save the batch by adding some chopped up Nestlé chocolate that had been given to her by Andrew Nestlé of the Nestlé Company. (Lets take a moment and appreciate how awesome it is that Mrs. Wakefield personally knew a family member of the Nestle corporation. I would totally be name dropping up in the blogosphere if it were me! …which come to think of it is probably why its not me…) Anyways, Ruth had expected the chocolate she added to the batter to melt and disperse through the cookie dough, but of course it did not! And thus the invention of the brilliant chocolate chip cookie!

Oh, but you know what this means don’t you? My brother was being all up in my face about stopping my experimentations, and going classic…. Where in reality, the chocolate chip cookie was discovered due to someone’s creative experimentation! :)


Hope you enjoy them!


The Fast and Easy Recipe for the first ever Chocolate Chip cooke recipe ever! This is the original recipe accidentally created by Mrs. Wakefield in the 1930's.....and its delicious! A perfect classic chocolate chip cookie....because it is! | www.liv…


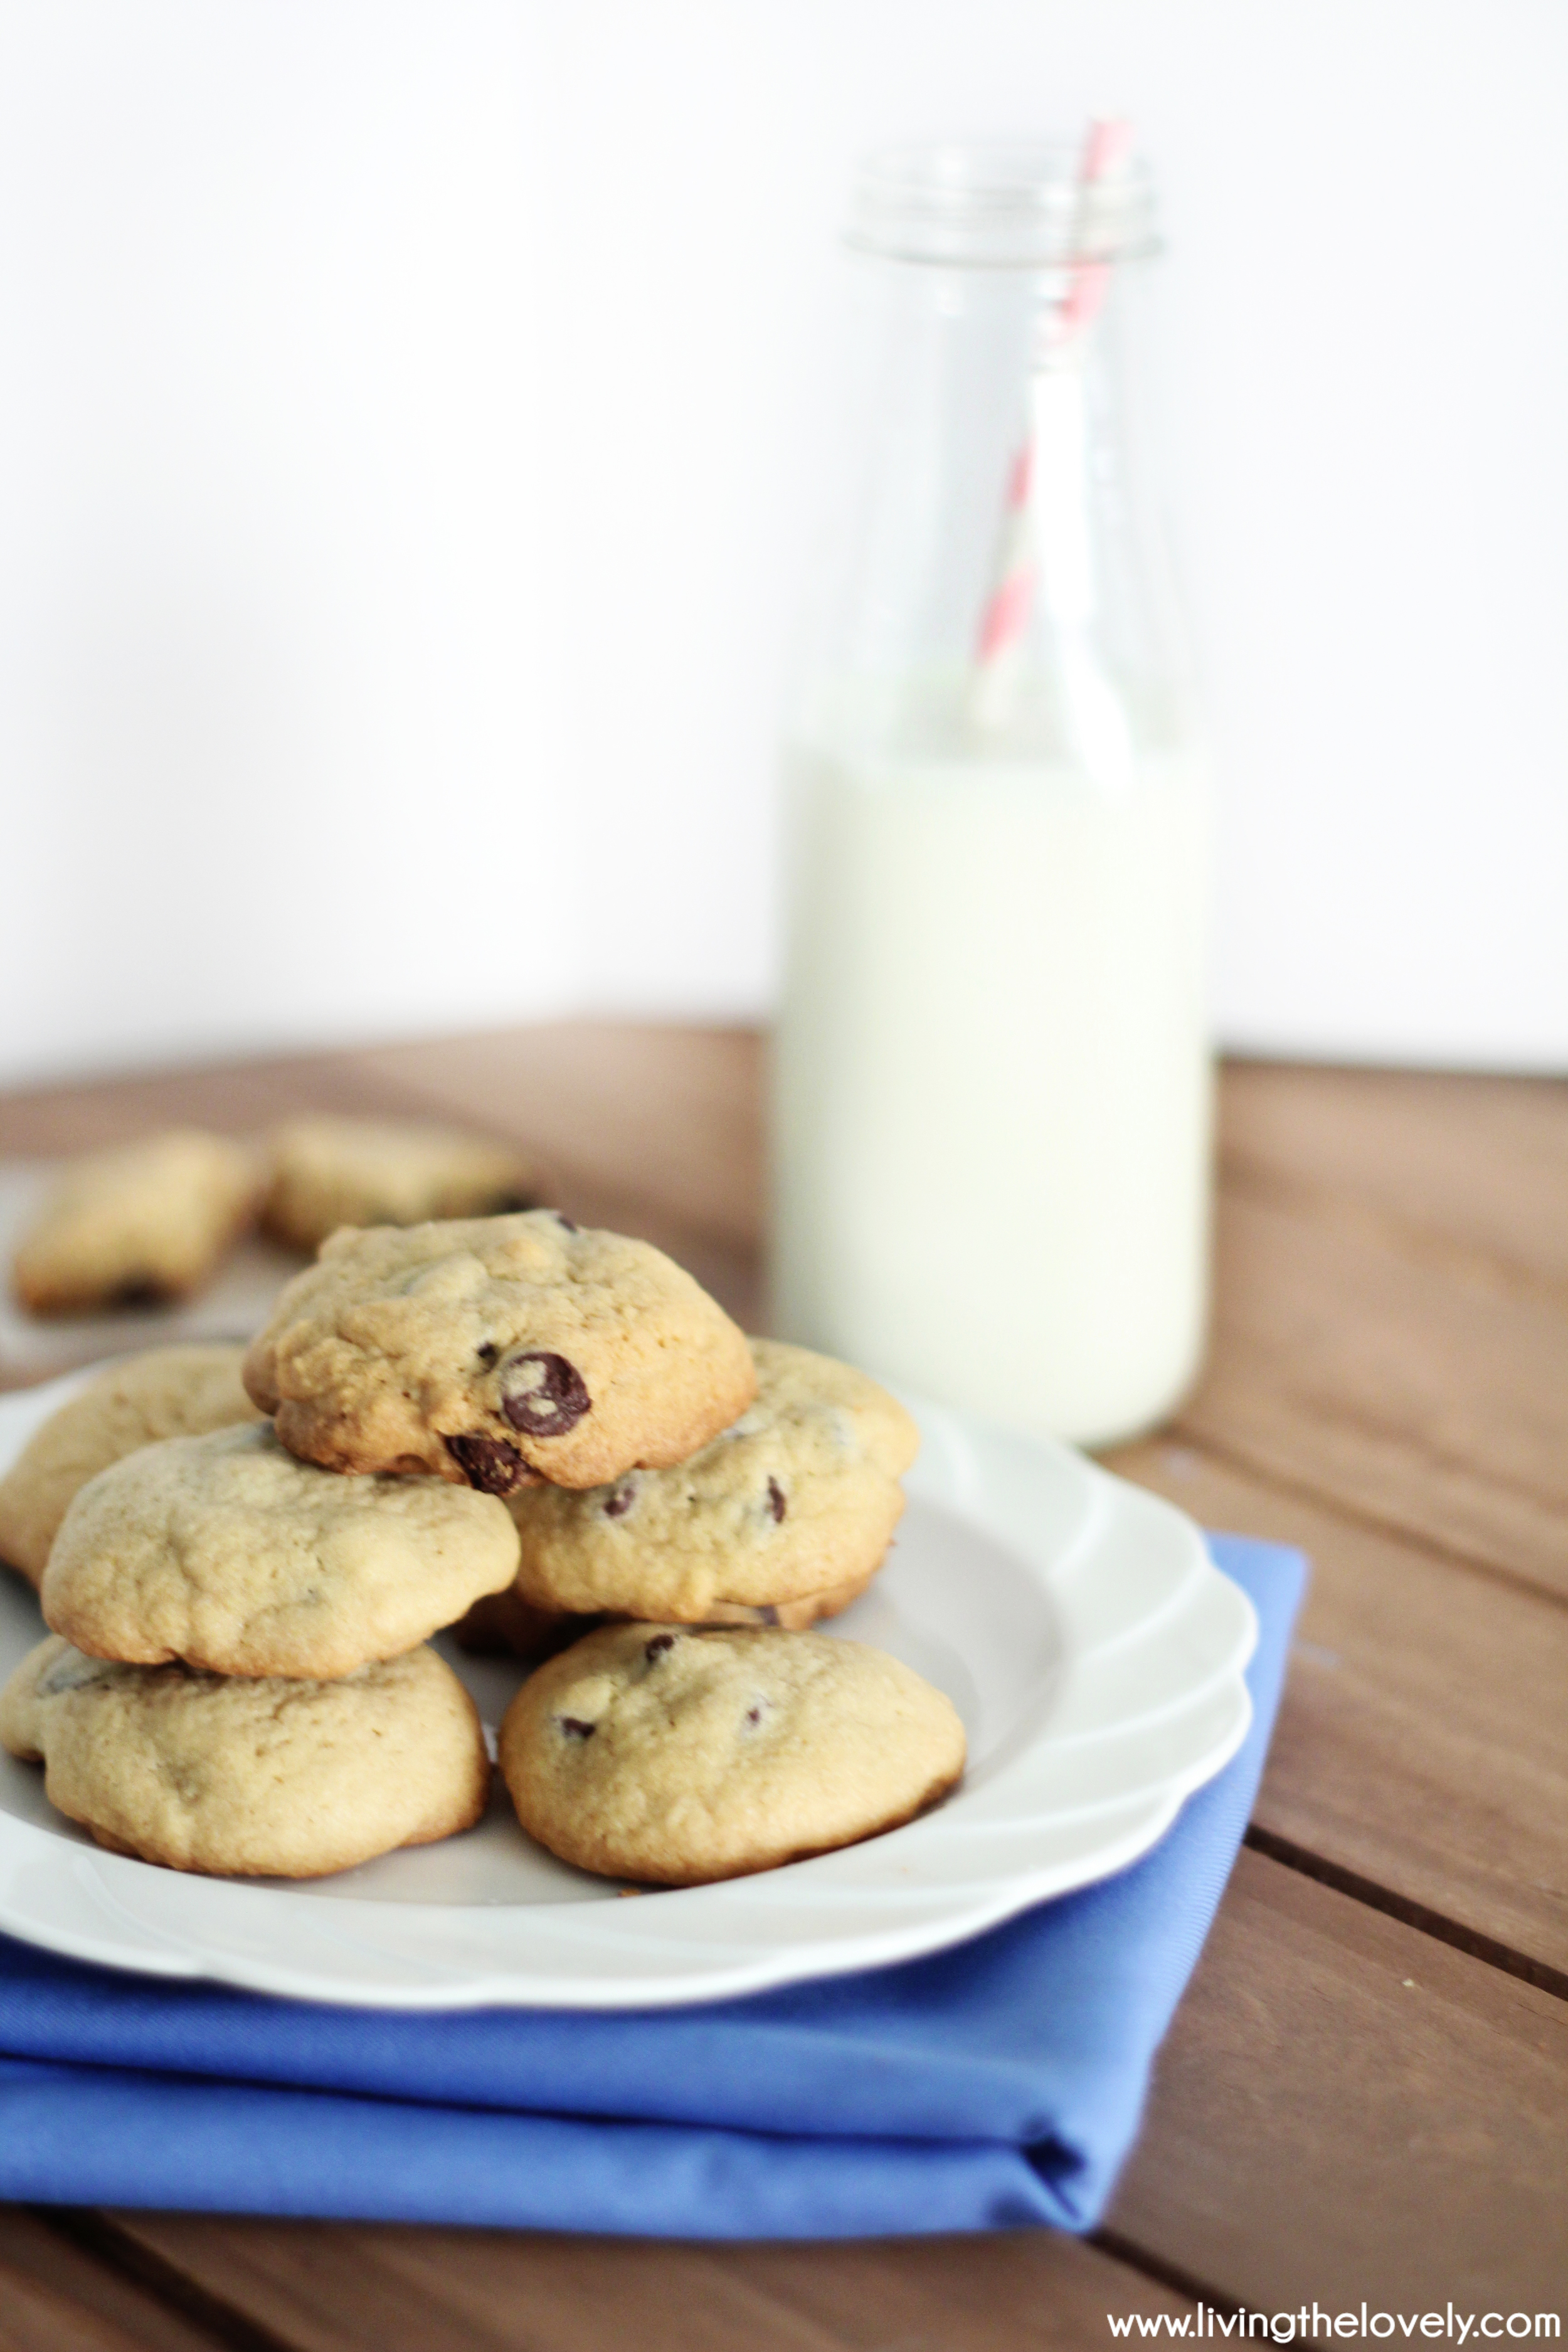
Classic Nestle Chocolate Chip Cookies

 * 2 1/4 cups  all-purpose flour

* 1 teaspoon  baking soda

* 1 teaspoon  salt

* 1 cup (2 sticks) butter, softened

* 3/4 cup  granulated sugar

* 3/4 cup  packed brown sugar

* 1 teaspoon  vanilla extract

* 2  large eggs

* 2 cups (12-oz. pkg.) NESTLÉ® TOLL HOUSE® Semi-Sweet Chocolate Morsels

* 1 cup  chopped nuts (I didn’t add these for obvious brother-hates-nuts reasons)


Instructions : I thought since this is an original recipe, you should check out the official nestle website for the instructions if you would like to make them :) INSTRUCTIONS HERE


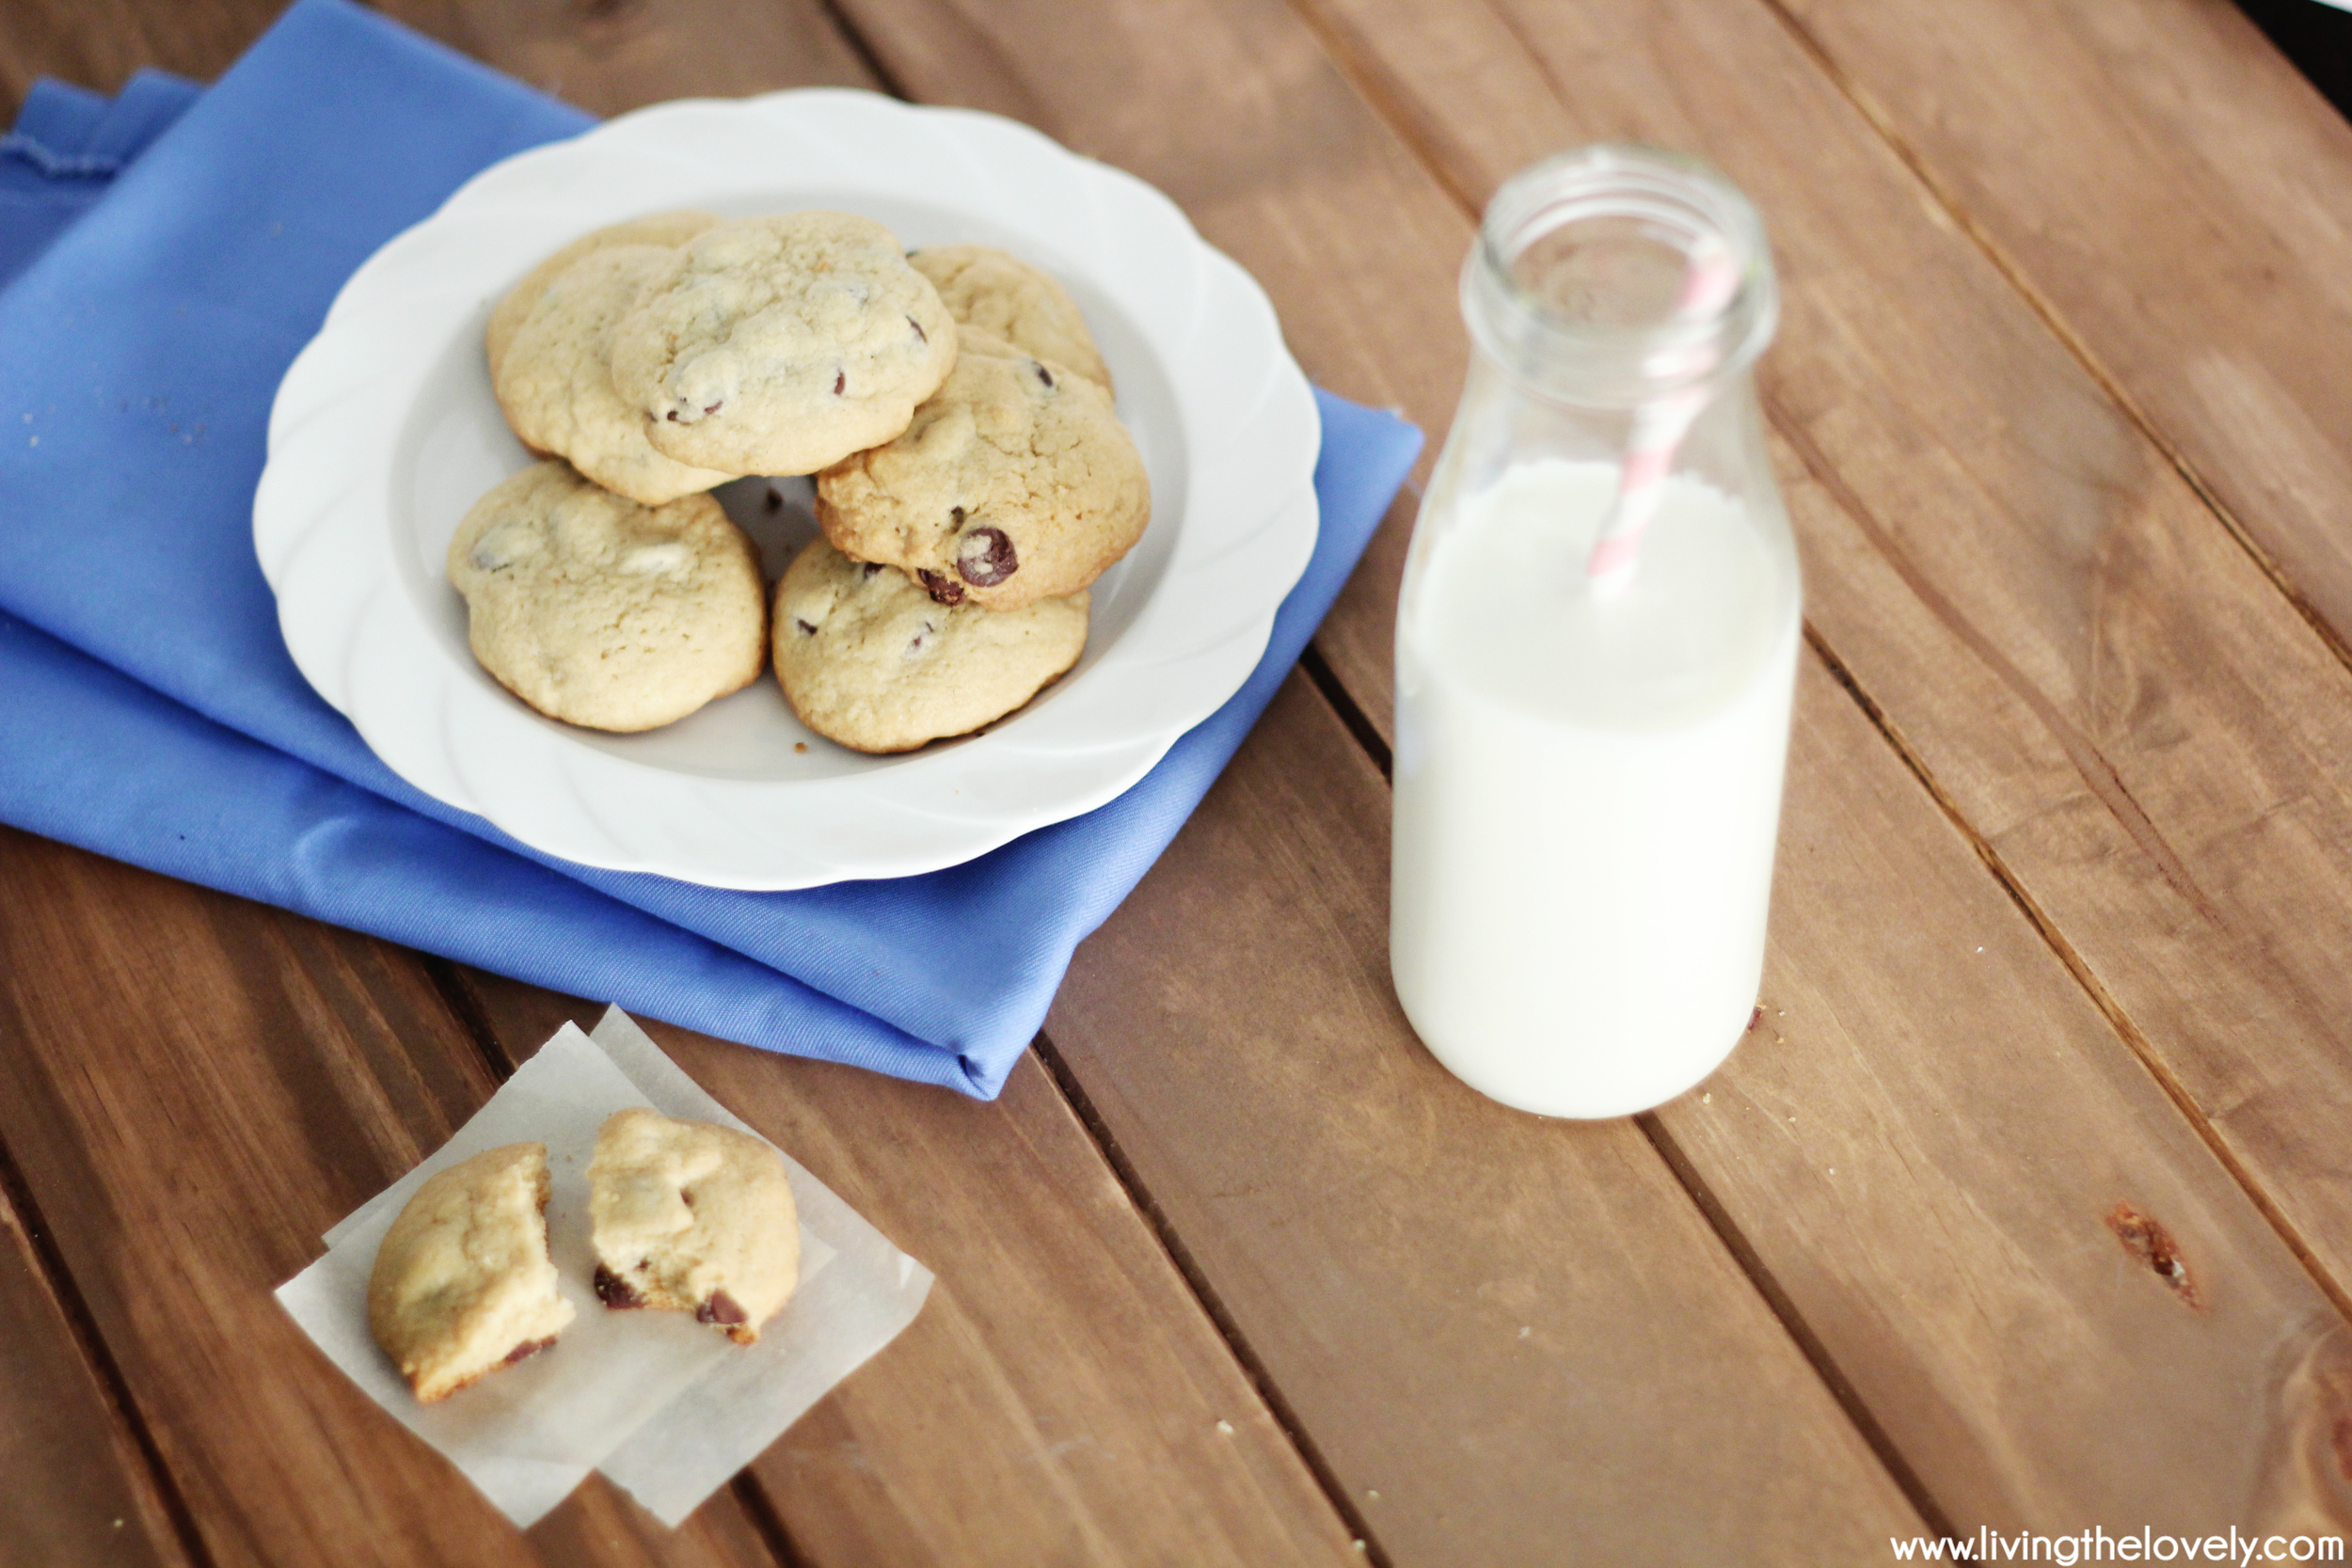
This provides the perfect classic, original type of chocolate cookie, because it was! Enjoy and let me know what you think :)


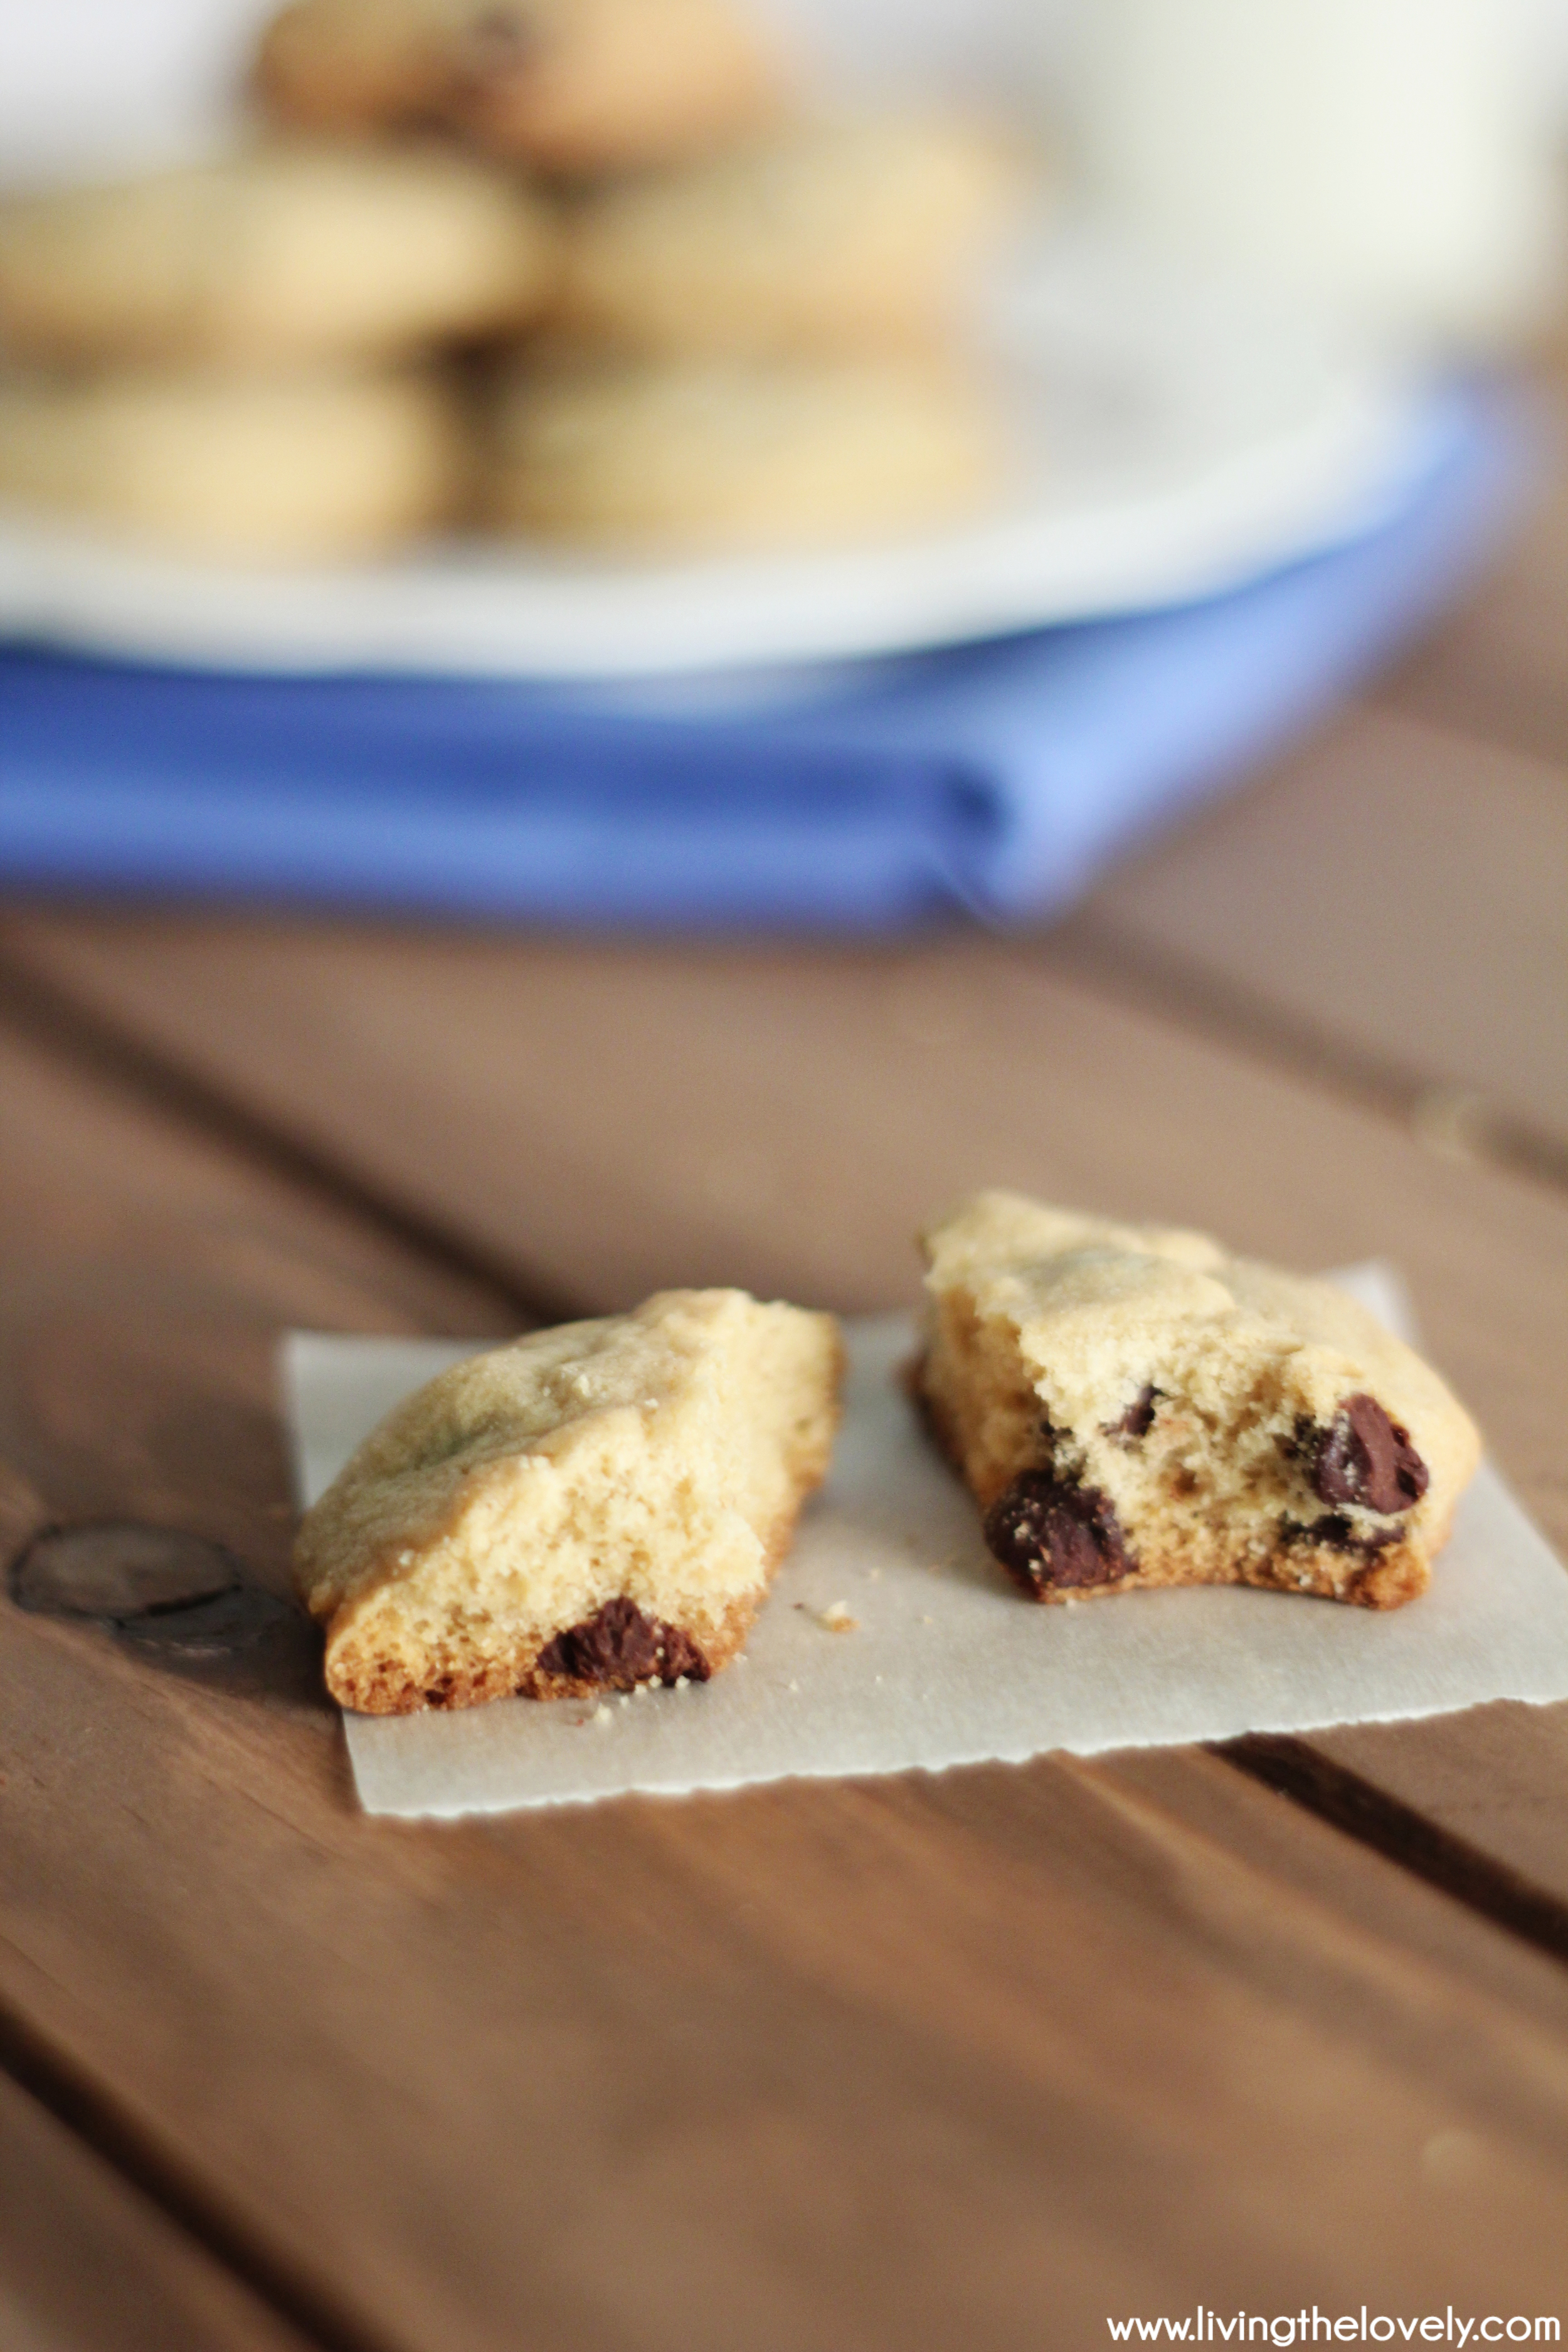
**TIP: I find if you microwave the cookies for 10 seconds before eating makes them SO amazing and melty in your mouthy :) 
 

And lookie here! My first ever youtube video! Showing you step by step how its done :)


Super Soft Gingerbread Men Cookies

Hello Lovelies!


I was originally hoping to get this post out before Christmas, but since I was making them fresh for Christmas it kind of ended up not happening for logistical reasons. But oh well. Better late than never right? Especially in the case of these yummy soft gingerbread cookies ! 


soft ginger bread cookies recipe. Super delicious and very easy to make, these cookies are firm but super soft when you bite into it! My favourite gingerbread recipe ever! www.livingthelovely.com


So backing up a little, I thought I should provide a wee bit of background: Despite not actually celebrating Christmas, every year I try to get a little something for my coworkers. Nothing crazy but just a little something to spread the merriness of the season. It does sometimes confuse people that on one hand I don’t celebrate Christmas, yet on the other hand I do the whole gift thing. My response is simple: Tis the Season! I love that it can brighten up people’s day, and, I mean, really, no one is complaining right? :)


But my problem this year is I joined a new team at work, and theres about 12 people on it. That made the logistics of buying gifts a bit more complicated. But not wanting to do nothing I decided it would be the perfect opportunity to show off some of my baking skills at work. I decided to make something Christmas-ey, and then it hit me - Gingerbread cookies! 


Now I don’t know about you, but my ideal gingerbread cookie recipe consists of a soft chewy cookie filled with flavour. I have always hated those hard, crispy, break your tooth gingerbread men that were the only option at your local grocery store. This, my friends, is not that! 


These soft gingerbread cookies are, well, very soft. Not too soft, in the “oh no! my cookie just crumbled in my hand cause it was too soft” sort of way. In fact the texture on the outside is pretty stiff and solid. But when you take a bite in to it, its very soft and not tooth break-ey. The great thing about these cookies are that they stay soft even a few days later (though you probably won’t have very many left!). 


Decorating these soft gingerbread man? gingerbread men ? gingerbread cookies? whatever you wanna call them, is also super fun. Get some icing and candies and go to town. Since this was the first time I was going through the bother to decorate (this was a gift people, a messy piled on smear of icing wasn’t going to work here) I decided to make each of the cookies different which was lots of fun! I then finished it up by wrapping them up in some creepy looking but STILL FESTIVE baggies, and topping it off with ribbons. This was clearly a classy affair. 


I would highly recommend them and they were a hit in the office, so if you are looking for a SOFT gingerbread man cookie recipe, this is the one people!


1.jpg


Soft Gingerbread Men Cookies


* 1 1/2 cups unsalted butter (softened at room temp)

* 1 cup brown sugar 

* 2 large eggs

* 1 cup molasses 

* 1 tsp baking soda

* 3/4 tsp salt

* 1 tsp. cinnamon

* 1/2 tsp  ground cloves

* 2 tsp ground ginger

* 5 cups flour


1. Mix your softened butter with brown sugar with a pair of beater or your kitchen aid mixer. Beat until its smooth.

2. Then add your 2 eggs to the mixture and mix some more until fully incorporated. Add the molasses and mix. Just a note here that I use Blackstrap which makes a darker cookie but you can do the normal kind too. I just prefer the richer taste of the Blackstrap.

3. In a separate bowl mix all of the dry ingredients together: baking soda, salt, cinnamon, cloves, ginger, and flour.

4. Add the dry ingredients to your wet mixture and mix until you get your dough! yay you’re done! 

6. Before you can roll out your dough you need to refrigerate it for a few hours. I would recommend make a few disc shapes with it, and then wrapping it in plastic wrap, before putting in the fridge. This just makes for easy rolling later!

7. Once you're ready to make cookies, pre-heat your oven to 350 degrees.

8. Once your dough is chilled roll it out on to a lightly floured surface and give it a few good kneads - this will make the dough work a lot better. Just be sure to not incorporate TOO MUCH flour. Then you just roll it out and cut out your cookies! For softer chewier cookies you want to go for 1/4-1/3 inch dough. The thicker the rolled out dough the softer the cookie.

9. On a parchment lined baking sheet, bake your cookies in your pre-heated oven for about 10 minutes. However, depending on how hot your oven runs, you might want to do 8. Our new oven made the cookies a bit dark at 10 minutes so use your discretion. Also, a hint, these cookies can be hard to figure out if they are cooked or not because they are so dark as it is. However, I do feel the cookies lighten up when they are done baking so there is that (which is weird when you think about it…cookie gets darker when they bake not lighter right?). I try to go on the side of slightly under cooked than slightly overcooked as it makes a softer cookie. 


TIP* I refrigerated some of the dough (since when I was making them I was up till 2 am despite having work the next day ( #dedication ), and then about a week later I decided to make the cookies again and to my surprise they came out tasting EXACTLY the same! Awesome right? Just one thing I noticed is the cookies had a fewcracks on them that they didn’t have when I made them fresh. They weren’t a big deal, but I thought I should share. Also, it may just have been because I was too lazy to bother kneading the dough a few times again before rolling it out. SO do that if you choose to refrigerate the dough. And let this lazy girl know if it works out? ;)


P.S. Heres what happens when you are down to your last few cookies to decorate, you are running low on decorating ideas, and its 2 AM:


funny gingerbread men cookie design ideas. the horror! haha | Christmas themed gingerbread man cookies Make these deliciously soft gingerbread men cookies! Fun to decorate and great as gifts for christmas. Most importantly they are sooo soft and del…


The Best Easy One Bowl Brownie Recipe Ever!

Today for the first time in a really long time, I "entered the kitchen" again.


best one bowl brownie recipe delicious easy


See, back in the day, I used to be the kind of girl who would bake up 2-3 different treats a week - and would only limit myself to that number due to my parents' insistence that we would all die from diabetes if I didn’t stop. Every day I would rush home from my high school, and throw open all our drawers and cupboards to come up with something delicious to make. I would spend my lunch breaks at school browsing through the public library’s endless collections of cookbooks and lugging them back home with me. (yeah I was that girl)

When I went to University my love for the art of baking only grew. Only, so did my work load. By about a thousand. 

Despite this I was determined to make it work and would spend my breaks in between Uni classes looking up recipes online - which coincidentally also happen to be a lot lighter than those heavy cook books. And you also don’t have to remember to return them. And you don’t get late fees. The internet is pretty awesome aint it? :)

Along the way I decided to blog some of these recipes as a way to share these yummy finds, but mostly to keep track of and record them for myself. One too many times I had bookmarked a favourite recipe, only to come back and find out the site had gone down! *sad face* This way I was able to go back to my OWN blog (which I would obviously never destroy), to keep a record of all my favourite recipes. Thus my blog Edible Moments was born! 

However, somewhere along the way I lost something. The passion? The enjoyment? I don’t know. School got busy. Work got busy. Personal life got complicated. And when you add up full time school + full time work + 24/7 life stuff, pretty soon it can become pretty easy to lose the excitement that once came from a simple pleasure like baking yummy things and taking pretty pictures (16 year old Zahra would never have believed it!!). I was overcome with the stress of “what will I do with my future” and “why are things not working out the way I had meticulously planned them?!”, that there wasn’t much time to worry about what sort of sponge cake I would be making in between my Law midterm and PoliSci paper. It came to a point where the thought of getting up and taking out a mixing bowl and some measuring cups was so tedious, I would have rather washed the dishes. And let me tell you. Zahra don’t wash no dishes. Dishwashers wash dishes. 


brownie milk easy fast delicious yummy one bowl best recipe


Anyways, days became weeks, weeks became months, and before I knew it, it had been 2 years since I last posted on the good old blog. 2 years, 1 month, and 5 days to be exact! I contemplated even deleting the blog. It felt like its presence, and lack of updates was only adding to my sense of...blahness! But alas I couldn't do it - delete my baby??

Recently, in the past few months I have been thinking about getting back to it. Getting back to the blogging, the photography, and most importantly - the baking. However this realization could not have come at a worse time, as the family was in the middle of a massive kitchen renovation which meant we had no oven for a good 2 months. When I made the previous Strawberry Frozen Yogurt recipe (purely out of necessity since it was the only recipe I could think of that didn’t require an oven), I was suddenly reminded by the fun I used to have playing around in the kitchen. I realized I had let something that had been so enjoyable for me to just simply…slip away. And I wasn’t quite sure why. I vowed to try to slow things down a bit and at least try to enjoy life a little more. To stop stressing about everything all the time and make time for the fun hobbies I used to enjoy so much! 


So today, when I stepped in to the kitchen, determined to make this whole baking thing work, I realized something. When I am in the kitchen whipping up something yummy I get a strange sense of ‘inner peace’. I’m not talking about any of that yoga zen stuff, no, it’s a sort of “I’m just here doing my thing and I’m not doing it for x, y, or z reason. I’m just doing this just because I enjoy it”. And man. Is that a liberating feeling! But I also realized that some things have changed and that I needed a fresh start. The teenage Zahra who started Edible Moments wasn't the 23 year old typing this post. And thus, this is how this little wee blog has been born :)


I have therefore decided to promise myself something. I, Zahra, solely swear to keep with this whole ‘baking/crafting because I enjoy it’ thing. Because no matter how worried and preoccupied you are about which way your educational future should go, how your career prospects are forming, and what you are going to do with the million other little worries you have about the future, one thing is for sure - brownies will always be there for you :)


Now that I am done being sappy, and have let my mushy insides out for you guys, I present to you hands down the best-est, most yummy-est, and easiest one bowl brownie recipe you will ever find. Yes I know thats a big claim, and I don’t care. Its the truth y’all! This has been my go to Brownie recipe for ages. Ever since my high school days! Because no matter how many other amazing brownie recipes I try, nothing beats this one. Its super delicious, but also super easy, and was the ideal recipe to get me back in to the kitchen. 


brownie milk easy fast delicious yummy one bowl best recipe


Best One-Bowl Brownie Recipe

Ingredients:


* 1/2 cup butter or margarine, melted
* 1 cup sugar
* 1 teaspoon vanilla
* 2 eggs
* 1/2 cup all-purpose flour
* 1/3 cup Coco powder
* 1/4 teaspoon baking powder
* 1/4 teaspoon salt
* 1/2 cup chopped nuts (optional)
* Brownie Frosting
 

Directions:


1. Pre-Heat oven to 350°F. Line a 9-inch square baking pan with parchment paper.
2. Stir together the melted butter, sugar, and vanilla in a large bowl. Add the eggs and mix well with a whisk. Add in the rest of the ingredients. Alternatively,  you can do what I do (which is technically not one bowl but I don't mind) - stir together the flour, cocoa, baking powder & salt in a seperate bowl. Then gradually add to your brownie mixture, mixing until well blended. If you would like to use the nuts add them now.
3. Pour the batter in to your prepared pan and spread it around evenly. 
4. Bake for about 20 to 25 minutes or until brownies begin to pull away from sides of the pan or a toothpick comes out clean. Cool completely in the pan. 


Creamy Chocolate Frosting


* 1.5 tbsp softened butter 
* 1.5 tbsp coco powder
* 1 tbsp honey
* 1/2 tsp vanilla
* 1 cup icing sugar
* 1-3 tablespoons milk (depending on consistency)

Beat the butter, cocoa, honey, vanilla, and 1 tbsp of milk in a bowl until well blended and smooth. Add the powdered sugar and beat to a smooth spreading consistency. If its a bit dry feel free to add some extra milk.


Honest Comments on the Recipe:
I love this recipe. No way around it. Its my favourite go to Brownies because not only are they yummy they come together sooo easily. In addition to that, its the kind of no fuss, no muss recipe where you don’t need some crazy exotic ingredient from the Amazon to make - everything should be in your pantry already. This produces a soft, chewy, cakey sort of brownie. And the frosting is delightful!
 

4 Ingredient Strawberry Frozen Yogurt

I don’t know about you guys but I love me some fro-yo! All those delicious and yummy flavours and best of all its HEALTHY. Can you imagine? Something that tastes good and is actually not bad for you? Its pretty much healthy ice cream (at least that’s how I have been justifying my way too frequent visits to the Frozen Yogurt shop to myself). But you know whats one thing I don’t like about Frozen Yogurt? The price! I swear I have spent a few hundred dollars more than I should have on frozen yogurt. Another thing that I don’t quite love is not knowing how they are flavoured and coloured. All this led me to an idea - what if I could make this myself? To google it is! 

Easy_homeade_4_Ingredient_Strawberry_Yogurt_Frozen


Unfortunately I wasn’t able to find as many recipes as I had thought, and all the ones I did find either had some weird ingredients I had never heard of before or used an ice-cream maker (which I don’t have). That was until I stumbled upon this beautiful gem of a recipe here. 4 ingredients and all you need is a blender? I’m sold!

The final result turned out delicious. It left a perfect pop of strawberry goodness in your mouth. The only problem I had with it was that it tends to melt a bit fast so its best to single serve it and pop the rest back in the freezer. Enjoy!

strawberry_frozen_yogurt_froyo


Strawberry Frozen Yogurt 

(source)

Ingredients: 

4 cups frozen strawberries
3 Tablespoons honey
1/2 cup plain yogurt (non-fat or full fat)
1 Tablespoon fresh lemon juice

Directions:

Add all the ingredients into a blender and blend until smooth! Serve immediately or freeze until needed. 

**If you do not have any frozen strawberries (like I didn’t) never fear, you can still make this with fresh strawberries. Wash your berries, and chop and measure 4 cups worth of strawberries. Then take out a baking pan and lay some parchment paper on it. Place out the strawberries on the pan, and sprinkle on some sugar if you have tart strawberries. Then pop it into the freezer until fully frozen. The parchment paper allows your strawberries to easily peel off once they are frozen. 

strawberry_frozen_yogurt_easy_recipe